July 23-27, 2025
WORKSHOPS
EXPERIMENTAL 2025 ONLINE!

Within Experimental 2025 Online, you can watch 19 live conferences and, every day, participate from home in a workshop to learn a technique alongside our artists. All content will be available live and recorded, so you don't miss a thing, and you'll be able to access it without any deadline.Scroll down to discover all the details of each online workshop and choose the experience that best suits your tastes! 👇

*Available only with a Full, Medium, or Basic online pack.
-
DATE: Wednesday, July 23
-
MODALITY: Online - Live
-
TIME: 16h (Spanish time)
-
LANGUAGE: English
-
DURATION: 2,5 hours
Discover the art of tricolor image printing using red, yellow, and blue layers. In a concise 30-minute overview, I'll introduce the principles of the tricolor cyanotype process. Detailed instructions, including calibration and printing negatives, will be provided in an English handout. During the workshop, we'll print the initial red layer, tone it with madder roots for 90 minutes, and allow it to dry. Following this, the yellow layer will be printed, bleached in sodium carbonate, and dried. Finally, we'll apply the blue layer to complete the tricolor image
Meet the teacher Maria Solaguren-Bascoa

-
DATE: Thursday, July 24
-
MODALITY: Online - Live
-
TIME: 16hs (Spanish time)
-
LANGUAGE: Spanish
-
DURATION: 2-3 hours
In this workshop, we will explore the technique of Chlorotype, a photographic process in which leaves become a light-sensitive support to create images. You will learn step by step how to prepare your photographs and how to expose them to sunlight, so that, once the workshop is over, you can continue working on them and discover the final result. In the second part, we will create skeleton leaves, a delicate practice in which we remove the skin of the leaf to preserve only its network of veins. This workshop is an introduction to the artistic possibilities that botany offers us.
Meet the teacher Paula Dornan

This is an innovative technique, presented for the first time in this workshop, that rethinks experimentation with contemporary technology, often closed and homogenized in its image production processes. Using current tools, it allows for the intervention of images to give them a glow that can only be appreciated in person, as their digital reproduction is limited. The process involves separating the tones of a photograph into layers and printing them to achieve a mirror-like finish, influenced by the material’s imperfections, ensuring unique pieces. This workshop is ideal for those looking to add an unrepeatable feature and play with a symbolic shine in their work.
Meet the teacher Juan Rodríguez Ogarrio
-
DATE: Friday, July 25
-
MODALITY: Online - Live
-
TIME : 16hs (Spanish time)
-
LANGUAGE: Spanish
-
DURATION: 2 hours
.jpg)
-
DATE: Saturday, July 26
-
MODALITY: Online - Live
-
TIME: 16hs (Spanish time)
-
LANGUAGE: English
-
DURATION: 3hs.
Since its invention in the early 20th century, collage has served as a medium for creating new compositions of the real by gluing different elements together on a support. This process allows for the rearrangement of existing materials, enabling surreal connections and the creation of entirely new worlds. In this workshop, we will merge the art of collage with AI-generated images, where analog paper, scissors and glue meets virtual algorithms.
Meet the teacher Céline Pilch

-
DATE: Sunday, July 27
-
MODALITY: Prerecorded
-
TIME: 16h (Spanish time)
-
LANGUAGE: English
-
DURATION: 3hs.
The chemigram process is an alternative method for creating one of a kind darkroom prints. Due to the nature of the process, no two chemigrams will ever be exactly the same. This workshop will explore the technique, the different ways it can be utilized, as well as how it can transform a traditional silver gelatin print.
Meet the teacher Emily Swift

DURATION: 2hs.
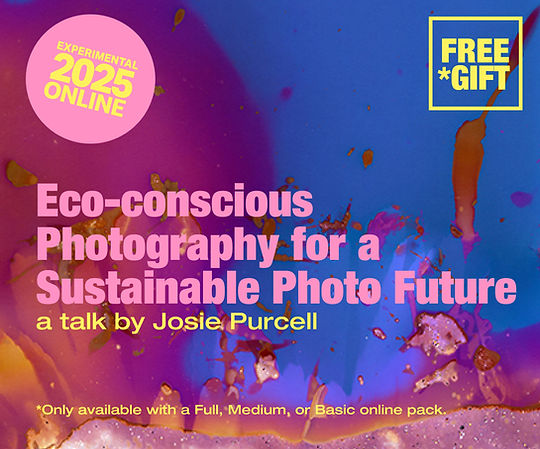
Join Cornwall, UK-based eco-conscious photo artist Josie Purcell to dig deeper into what it means to work in a more sustainable photographic manner. Gain insights into the history of eco-photography, and the ethical and environmental considerations of the medium as you reflect on the philosophical aspects of making photographic art. You will also discover more about Josie’s practice and her motivations, plus the inspirational activity of other photographers across the globe trying to lessen their photographic footprint as they raise the profile of environmental issues.